If you do not want to transfer your domain to Amazon DNS(Route 53) and want to use AWS CloudFront to deliver your content, you can use the instructions below to set up your content delivery network.
Scenario 1: you are using an external DNS for CloudFront and do not want to create a hosted zone in Amazon route 53.
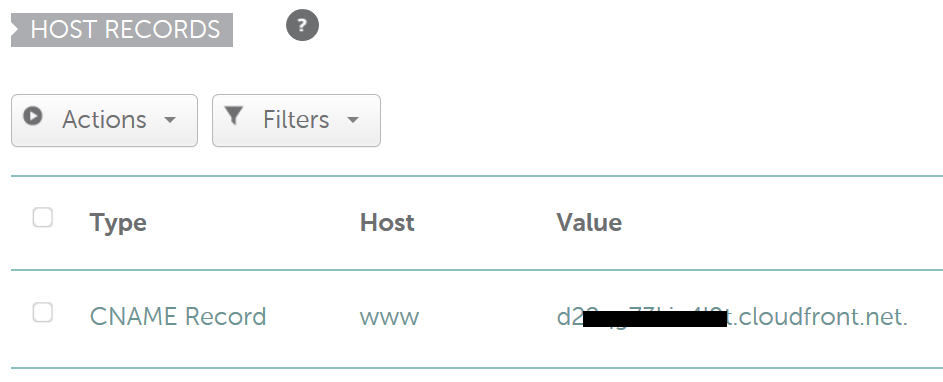
For example, your domain is registered with Namecheap and you have already created a CloudFront distribution for your domain example.com. the easiest solution will be to create a CNAME record in Namecheap DNS and point it to the CloudFront URL.

As you know the CNAME record allows you to only point the subdomain to another domain. You will not be able to send your all traffic from example.com to the CloudFront. Only www.example.com will be forwarded to the CloudFront URL. If you want both the www and non-www or naked/apex domain be forwarded to CloudFront then you need to follow the instruction given below in scenario 2
Scenario 2: you are using an external DNS and will create a hosted zone in the route 53
The main reason behind creating a hosted zone in Route 53 is that you will be able to create alias record for both the naked domain and teh www domain.
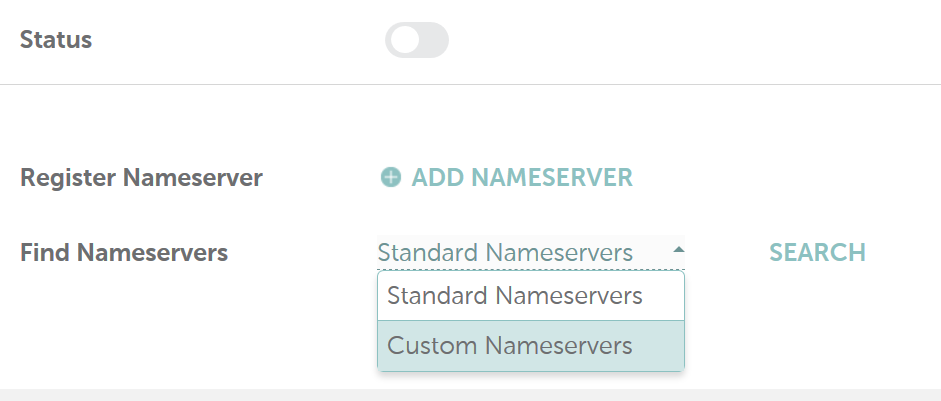
At first create a hosted zone for your domain in route 53 and take note of the NS record. Now log on your to Namecheap account and select the domain name and click on custom DNS. Add all the four NS records in the Namecheap DNS.

Secondly, create a hosted zone for your domain in the AWS Route 53 and then create an A record with an alias. Add the CloudFront URL so that route 53 can point your custom domain name to the CloudFront. Also create an CNAME record so that all your www.example.com traffic gets directed to example.com.
SSL: if you are using CloudFront, make sure you have uploaded a custom SSL in the CloudFront via the IAM role. If you want the CloudFront to send traffic to the EC2 origin via HTTPS , you have to set up the same SSL on the EC2 instance as well. When you have a load balancer between the CloudFront and the EC2, you need to set up the same SSL on the load balancer and set the connection between the LB and the EC2 via the simple HTTP protocol, avoiding the necessity of setting up SSL on the webserver.
SSL setup in the CloudFront
You must upload an SSL certificate in the CloudFront via IAM role.
To test CloudFront setup with SSL for your custom domain you need to have a valid SSL. If you want to create a free SSL then you use ‘LetsEncrypt’ free SSL and upload it to AWS using the following command:
To upload your SSL run the following command from an EC2 instance or from your local machine. Before running the commands below make sure you have set up AWS access keys on your machine.
aws iam upload-server-certificate –server-certificate-name youdomain-2019-02-11 –certificate-body file://cert.pem –private-key file://privkey.pem –certificate-chain file://chain.pem –path /cloudfront/production/
How to Create LetsEncrypt Certificate using certbot in the EC2 instance?
Make sure your website already has a ‘A’ record pointing to a web server.
Make sure you set an A record for the domain and it is pointing to your server. It will
help to auto-create the .well-known/acme-challenge file in the root directory and
verify the domain for you.
#Install certbot
yum -y install certbot
#create ssl
certbot certonly –webroot -w /var/www/html/ -d yourdomain.com -d www.yourdomain.com
#Your certificate and chain can be found at: /etc/letsencrypt/live/yourdomain.com/fullchain.pem
Your key file will be saved at:
/etc/letsencrypt/live/yourdomain.com/privkey.pem
