There are only a handful of tools for checking Windows server vulnerabilities. If you are familiar with Microsoft security tools testing tools you may have noticed that their tools focus on the security configuration setting of the server. What if your server has a number of applications such as PHP, MySQL or any other database related extension. Rapid7 has a community edition(free edition) for checking Windows server vulnerabilities. Securitywing has tested this edition of Nexpose in a test environment built with a Windows 2008 r2 server. The followings are the procedures you can follow to check your windows security.
This post will show you step-by-step procedures to check vulnerability of Windows servers. Before showing you the details steps, let me clarify that the server used for testing was a newly configured web server and no security settings of the of the server was changed before running vulnerability scan with Nexpose.
Check out the following steps:
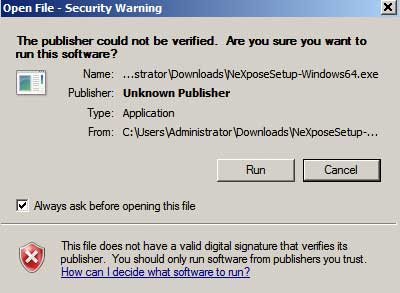
1. You have to download the Nexpose community edition from : rapid7.com/products/nexpose/download.jsp. If you do not have any account, you can create one and download the editing that you need. Next, check your email address to receive you free license code.
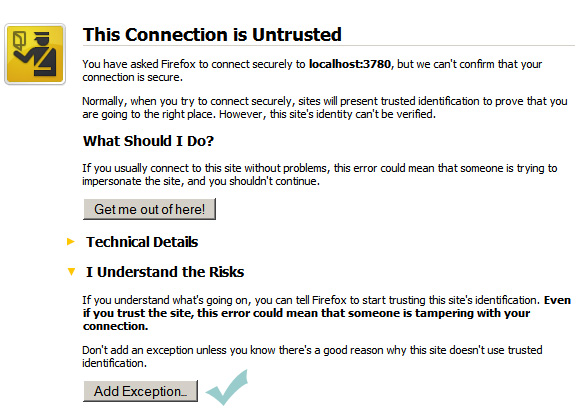
2. Once you install Nexpose you can start scanning your server for vulnerability. Remember that Nexpose expects your server to have a 8 GB of RAM. However, Nexpose worked smoothly in our test server with 4 GB of RAM. When you strat Nexpose for the first time, you might get a message stating that “This connection is untrusted”; ignore it by clicking on ” I understand the message” and “Add Exception”. Next, click on “confirm security exception”.
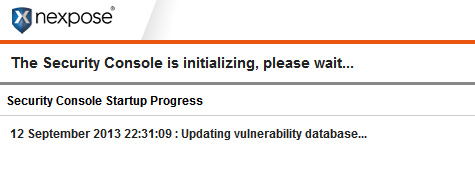
3. Allow a few minutes to start the security console.
 4. Next, click on the new site. See the screenshot below for more details.
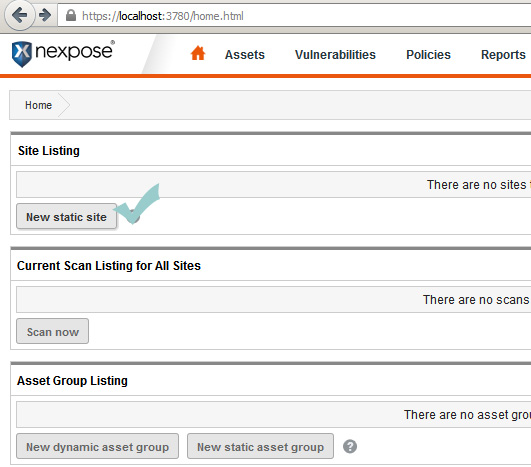
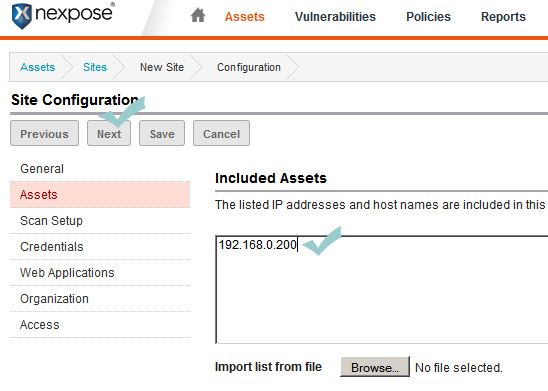
5. Now, Nexpose will show your server IP address in the included asset list. Just click on “Next”, under “site configuration”.
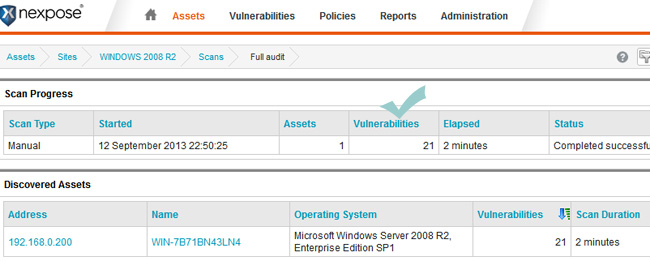
6. Now, click on the Scan icon to start the scan.
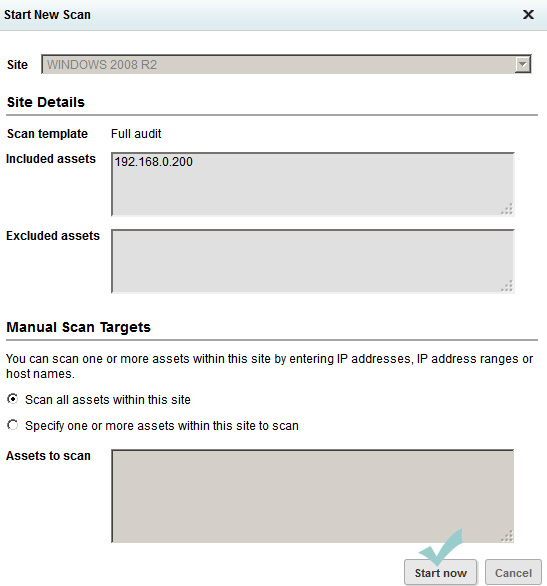
7. Click on “start now” and wait until scanning get finished.
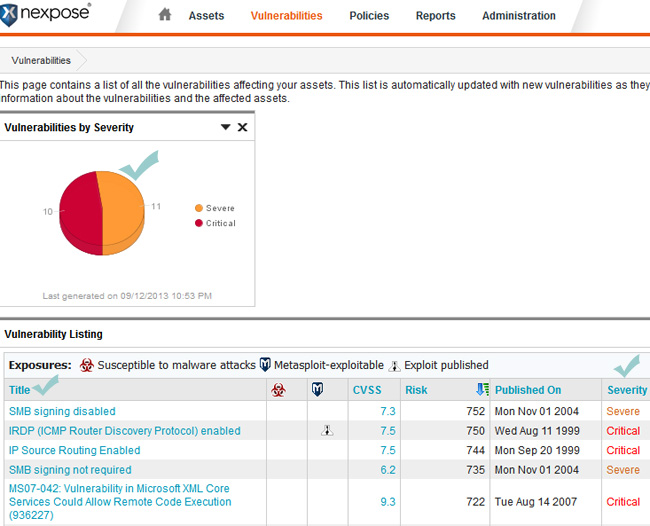
8. Checkout the number of found vulnerabilities.
9. Report on severity of each vulnerability.
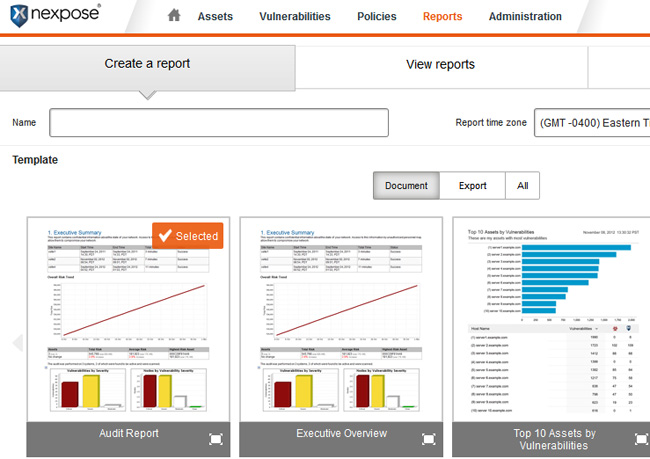
10. Click on the reports tab
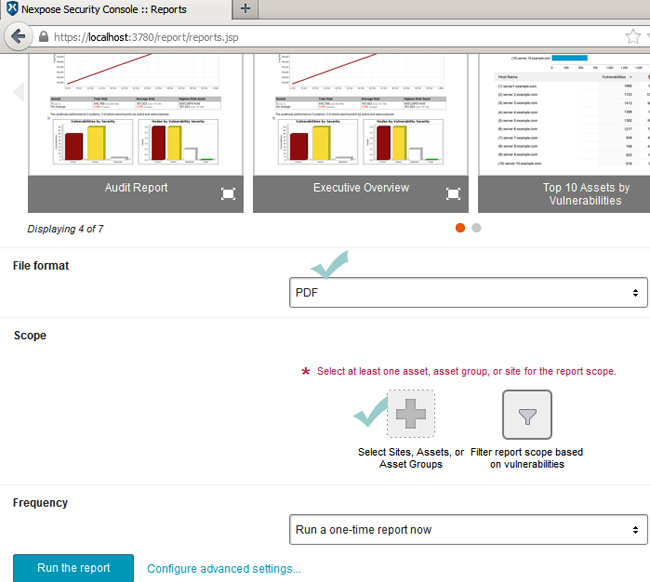
11. Generate a report: Click on the reports tab and then click on new give a name to your report. select the file format. in this report, we wanted to generate our report in pdf format. Click on “select sites and assets”, under the scope tab. Finally click on run the report.
 If you follow the above mentioned steps you should have no difficult generating a vulnerability report for your Windows server. Generating a vulnerability report and having a look at it is not all Nexpose does. The best part of
Nexpose is that it will give you the link for patches that you can download from Microsoft to secure your server.
