Securing MySQL requires not only hardening the security configuration of your database itself but also the web server along with the operating system. As you know that most of the web hosting provider love Linux and Apache as part of their web-hosting solution, you need to make sure that your host is taking proper security measures to ensure tighter control of Apache and OS. Your main task will be to perform a few simple tasks or test on your MySQL to remove all the known and easy-to-solve security vulnerabilities of your database. And the good news is that if you are new website owner and reluctant to learn some basic SQL tricks to, then also you can fix the basic security settings of your database from PhPMySQLadmin interface of your Cpanel.
Unless you are hosting your website on your own server in your own premise, you should let the task of Apache and OS security setting to your hosting provider. Now, checkout the following steps required for MySQL security:
- To ensure that your MySQL has the basic security protection, at first you have to make sure that remote access to your database has been blockThe Preventive action will reduce the risk of threats to your website from the outsider with a direct TCP/IP connection. The easiest way to disable remote access to your database is to delete the remote access persimmon to any particular host- you can do so with a click on your “remote MySQL” option in the database.
- Change the default admin ID of your database. When you install your SQL database, normally, it takes the admin name of your web account as the prefix of SQL database, which makes your SQL database name quite predictable.
- Update you MySQL regularly. After login on to MYsql admin check the current version of your mysql and then visit sql security page, where you will find all the latest security patches for mysql to cover the security weakness of the current version of the database. If you find your MySql is not updated, contact your host to update their database version.
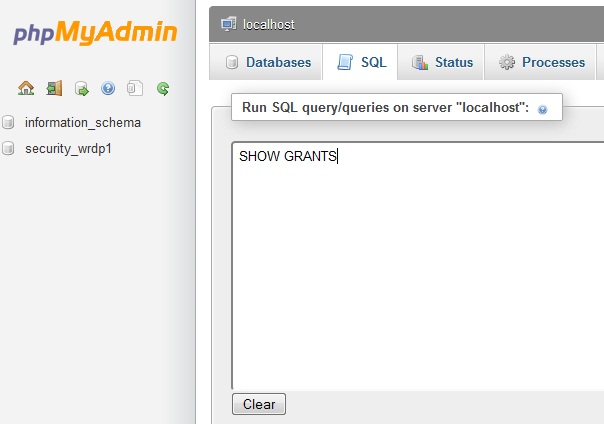
- In the Cpanel click on the PhPMyAdmin and then click on the” SQL” to run the “SHOW GRANTS” command. To execute the command click on the go button and then look out for the users who has the following privileges:
ALL PRIVILEGES
ALTER TABLES
GRANT ALL
CREATE
SHUTDOWN
KILL
UPDATE

- Make sure that all the unnecessary databases have been removed and there is no unknown user except the approved and known users who has access to your database. You can do this verification from your PhPMyAdmin in the Cpanel. After clicking on your database name, just click on the database name users table to see all the users with granted access to the database. Use the edit button to modify users’ privileges, if required.
- Always clear the history of mysql-history file. Not deleting the MQSQL history will keep track of who is using which commands. Normally, Linux stored this history file in the home directory as a plain text. To remove this file use the following command:
$ > ~/.mysql_history
- Not allowing history from storing in your disk is another good option to get rid of mysql history file by setting the MYSQL_HISTFILE parameters to /dev/null and then storing this new setup in to your start-up shell files. I would recommend you not to delete the history file entire, rather you can think about renaming it and then clear the stored history record on regularly.
- In case of remote backup of SQL database, always use SSH (secure socket shell)
To keep yourself updates with the security issues of MySQL, always search through the MySQL forums to learn about latest security concern of MySQL and ensure the following:
- Database should run in a chrooted mode and the access right to this directory should be 755.
- Always change the database account and administrator account and maintaining the minimum password standard.
- There should be not a single sample data in your database.
- Allow access to your database only locally, not remotely.
